The Pax 3 is the third generation upgrade of the original Pax portable vaporizer. In regards to both design and function, the Pax 3 epitomizes minimalistic luxury. Its instinctual nature and smart heating system combine for a flawless portable experience that is up there with the best we’ve ever seen.
Unboxing The PAX 3
In the box of the PAX 3, you’ll find the PAX 3 itself, along with a USB charging wire, and some cleaning accessories. Here’s what you need to do:
1. Charging
As with any battery-operated device, the first thing you’ll need to do is place the PAX 3 on an initial charge. The initial charge may take around 3 hours, although you’ll be able to track its progress by the LED lights on the device. Each leaf is representative of 25% of the battery, so once all 4 LEDs are on the battery will be at full capacity.
2. Turning It On
Now that your PAX 3 is charged, it’s time to get it turned on and ready to go. By pressing down the button in the center of the mouthpiece you’ll see the device turn on and begin heating. While heating, the LED petals will shine purple, and then green indicating that it is ready to vape.
3. Temperature Settings
The PAX 3 vaporizer comes with 4 preset temperature settings. The settings are easy to switch between. By holding down the button on the mouthpiece you’ll be able to choose which setting you wish to vape on.
The 4 settings are as follows:
- Temperature setting 1 -360°F (182ºC)
- Temperature setting 2 - 380°F (193°C)
- Temperature setting 3 - 400°F (204°C)
- Temperature setting 4 - 420 °F (216ºC)
4. Sterilizing
Before beginning your first session, it’s good practice to sterilize the unit. This’ll help remove any residue and chemicals from the manufacturing process before you start using it.
To do this, crank the temperature up to the highest setting and allow the unit to run the burn cycle for approximately 5 minutes.
Getting The PAX 3 Ready To Vape
Now the PAX 3 vaporizer is charged and turned on, it’s time to get it ready to start vaping.
Here’s how...
1. Preparing Your Material
The PAX 3, as standard, is designed for use with dry herbs. For the most consistent heating, and ultimately the best vapor quality, it’s best to grind your herb up as finely as possible. This allows the herb to be heated evenly and prevents any air holes from forming in the chamber.
The PAX 3 is also compatible with concentrates too. Bear in mind that if you’re intending on using concentrates then you’ll need the concentrate pad to fit into the chamber.
2. Packing The Oven
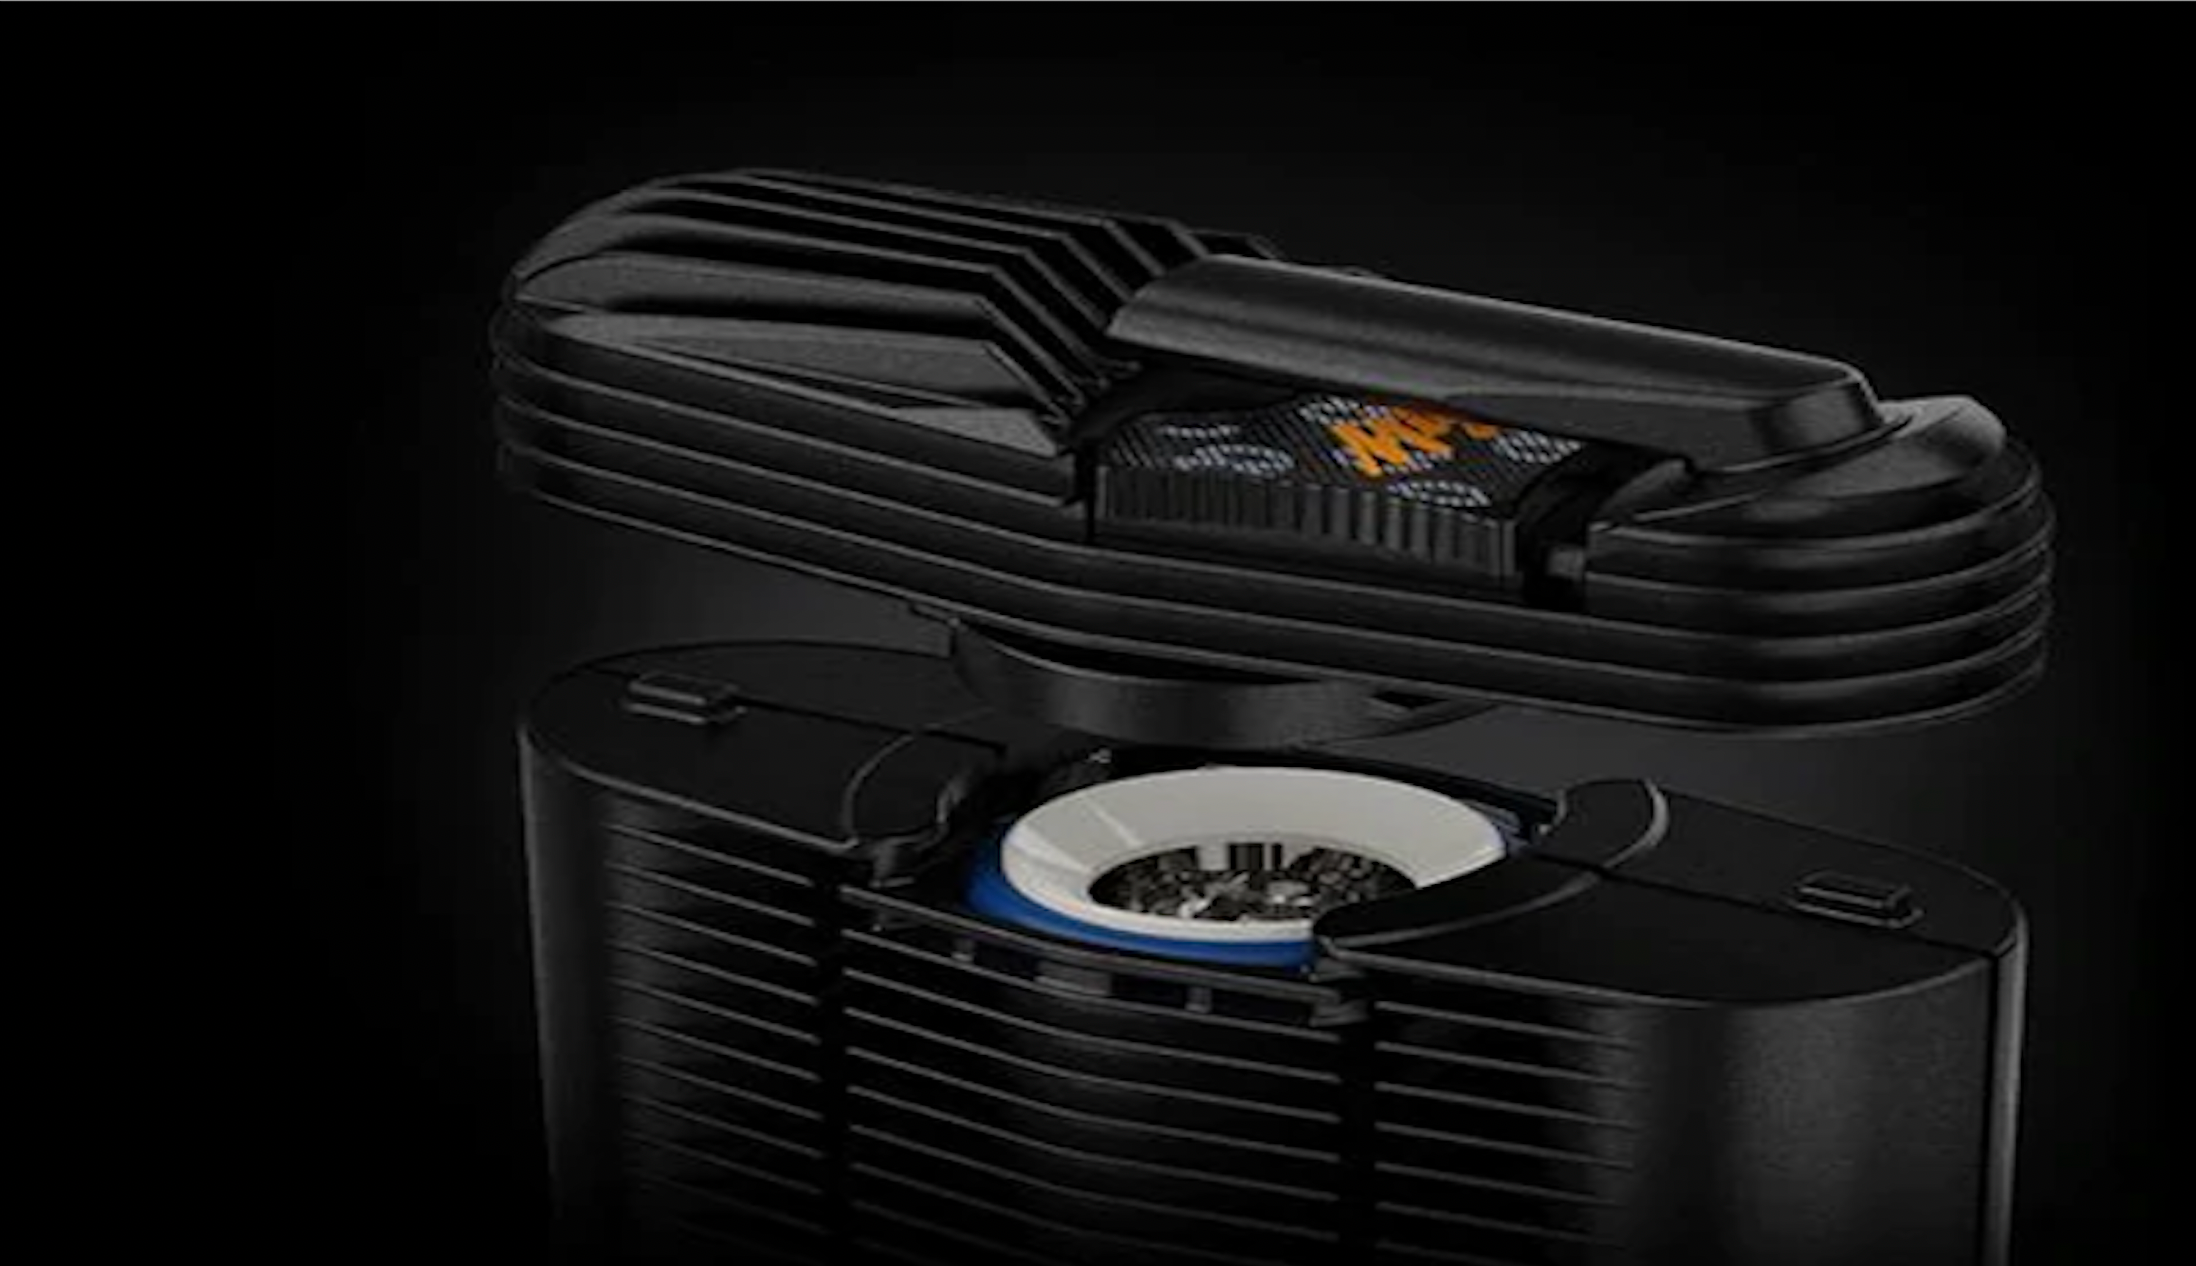
Packing the oven of the PAX 3 vaporizer is just as straightforward as everything else has been up to now. To expose the chamber you’ll need to push down on one side of the mouthpiece to slightly elevate the opposite side so that it will pop out.
Lift the mouthpiece away from the vaporizer to expose the chamber and fill it with your chosen material. It’s important to pack down your dry herbs tightly for the best experience possible.
For those interested in micro-dosing, or simply those who prefer lighter sessions, there’s also a half-pack lid to keep things tight in those circumstances.
3. Turning It Off
So at this point, you will have enjoyed the first of many flawless sessions with the PAX 3. It’s recommended to turn the device off once the session is over to ensure it doesn’t overheat or begin combusting your material. You can do so by holding down the mouthpiece button that will turn off the LEDs, indicating that the device has shut down.
It won’t be an issue should you forget to do so, though. The PAX 3 has an auto-shut-off feature that activates after 3 minutes of no use to save the material as well as the battery.
4. Cleaning
Cleaning and maintaining the PAX 3 vaporizer is going to be crucial in keeping it running at its best. It’s a simple process that shouldn’t take long, but should be performed regularly.
Most importantly, the chamber should be cleaned and cleared of all residue from previous sessions before beginning the next one. The rule of thumb is to just brush it out after each use. To do this, open up the chamber and scrape out any dry herbs from the oven using the loading tool. You can also use isopropyl-soaked cleaning swabs to remove any final bits of residue.
The PAX App
The PAX App was designed to elevate an already impeccable experience even further. Through the app, you’ll be able to access various modes such as Stealth, Boost, Efficiency, Flavor, and Standard. If that wasn’t enough, you’ll also be able to control the temperature of the PAX 3 completely, increasing and decreasing it in 1-degree increments.
Here’s how you can access the app on the 3 platforms on which it’s available:
On Android
Open the Android store and search for the PAX App. Once it’s downloaded you’ll be prompted to connect your PAX vaporizer to the app by shaking it until the LEDs begin to flash blue. This means the device is in pairing mode.
On iPhone
Apple had disabled all vape apps from their store, but PAX has found a workaround for their users to experience all of the benefits.
First, you will need to open the Apple app store and search for Connect Browser. Download the browser and search for the PAX website once complete. At this point, you’ll be asked to follow the same steps to connect your vape to the app.
On Desktop
To launch the PAX App on a desktop is simple. Visit the Pax web app to begin the web app onboarding process. You’ll be prompted to choose which of the compatible PAX devices you want to pair, and then enter the same pairing process as on other platforms.
Related Post

Pax 3 Review
Like most vapeheads, the team at Namaste Vapes is thoroughly sick of the “Vape X is like the iPhone of vapes!” trope. More often than not,

PAX 3 tips and tricks
Lean more about your PAX with these tips and tricks from our Namaste team.

How to Clean Pax 3?
The Pax 3 is one of the most sought-after portable vaporizers in the world and you’re lucky enough to own one. The Pax 3 is...
