

Dry herb vaporizers provide an alternative to smoking dry herbs by heating them in a chamber and allowing only the active ingredients to be released instead of fully combusting the material, producing a smooth vapor instead of harsh smoke.
But how do you use a dry herb vape? Though it takes a bit of learning and getting used to at first, they are pretty easy devices to use. Like anything else, it requires the right preparation, execution, and maintenance for optimal performance.
We’re here to share everything you need to know about operating a dry herb vaporizer to get the absolute most out of every session. This simple guide will outline every step you need to take towards enjoying high-quality, great-tasting vapor from your new vaporizer.
Prepping the Dry Herbs
Fresher herbs that contain a large amount of moisture will not vaporize as efficiently as herbs that are dryer. This is because the water trapped in the material has a different boiling point than the cannabinoids, providing inconsistent vapor density, taste, and effects. If you have just opened your sealed bag of material to find that it is just a little too moist to vape, don't worry.
Remove excess water in your herbs by throwing them into a paper bag and allowing them to sit for a few hours. If you come back to find they are still a bit too moist, keep them in the bag and fluctuate between keeping the paper bag closed and leaving it open every few hours.
You may then begin to evenly grind the properly dried herbs to make sure you will have enough surface area in the chamber so that it will be vaporized correctly and doesn't leave any portion untouched.
Prepping the Vaporizer
If you are using the vaporizer for the very first time after purchasing, it is best to run the device in an empty chamber to burn off any remaining substances left behind from manufacturing.
Simply turn on the device and put it on the highest setting and allow it to burn for about 5 minutes before turning it off. If you are using a vaporizer with an auto shut off feature, just allow it to time out and turn itself off.
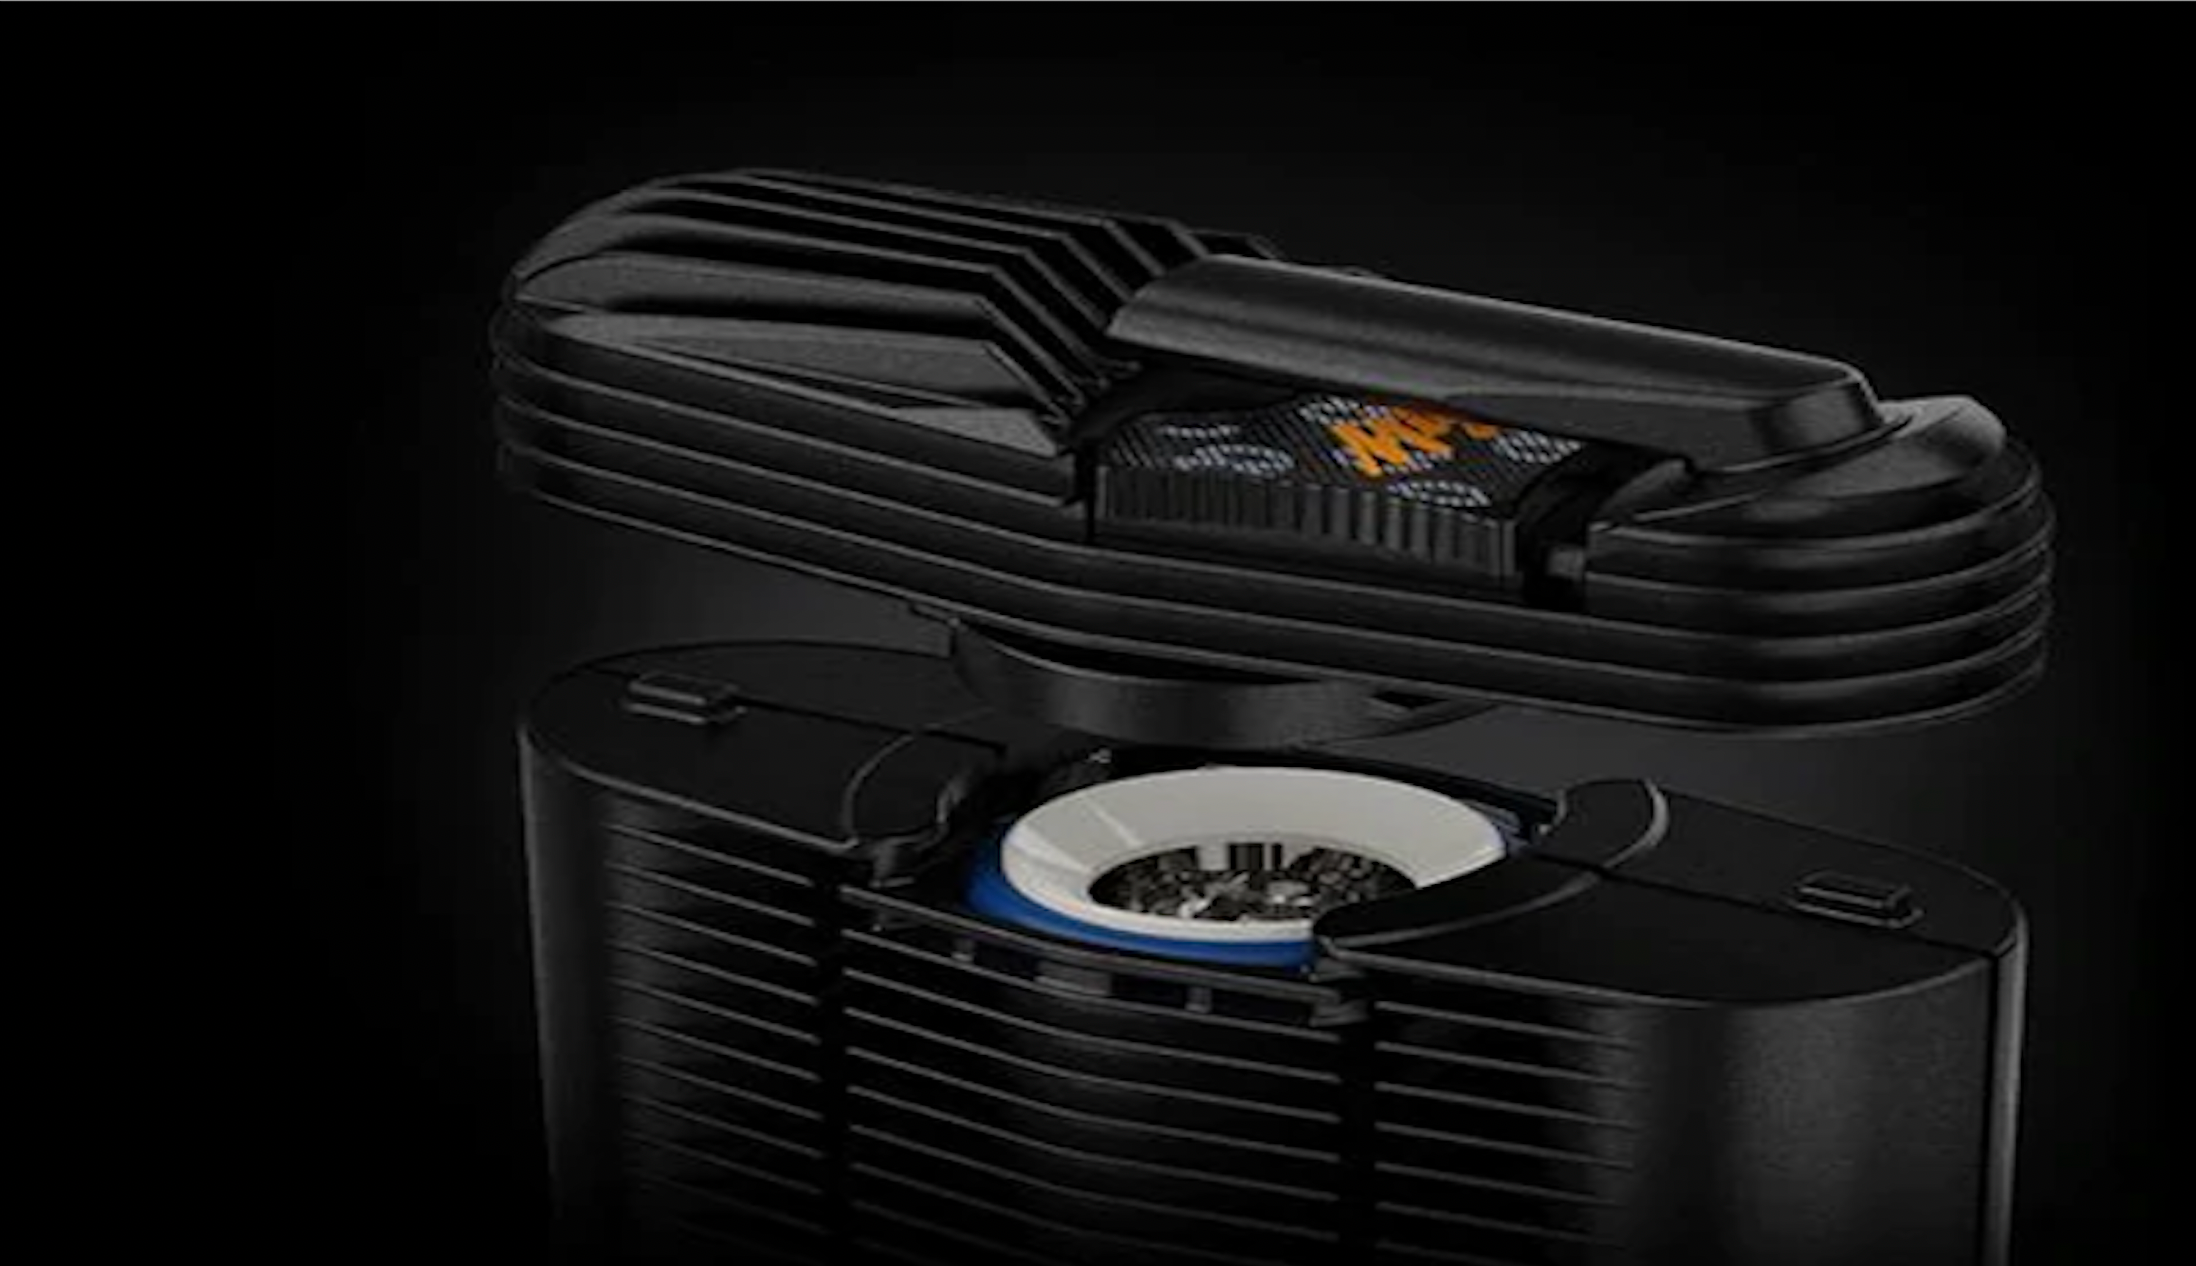
Loading up the Chamber
When you go to load the chamber of the vaporizer, be mindful of how you are packing the herb. Convection heating systems use airflow to facilitate the movement of heat within the chamber while conduction systems rely on the direct contact of heat to the material. For vaporizers that use a convection heating system, it is better to pack material loosely as the extra room is needed to allow air to pass through.
You will be able to get away with packing more herbs in chambers of vaporizers that use a conduction heating system. Just avoid overpacking the chamber as it will affect the way the device vaporizes your material and will result in low-quality vapor.
To prevent wasting material while loading, do not use your fingers to transfer into the chamber. Instead, use some type of tool such as a small scoop or funnel. You can even use a card or piece of paper to funnel in the material as well.
Heating Up the Vaporizer
Dry herb vaporizers take a little bit longer to heat up than vaporizers that support wax concentrates do. Depending on the size and features of your vaporizer, this heating time can be anywhere from 15 seconds to over a minute long.
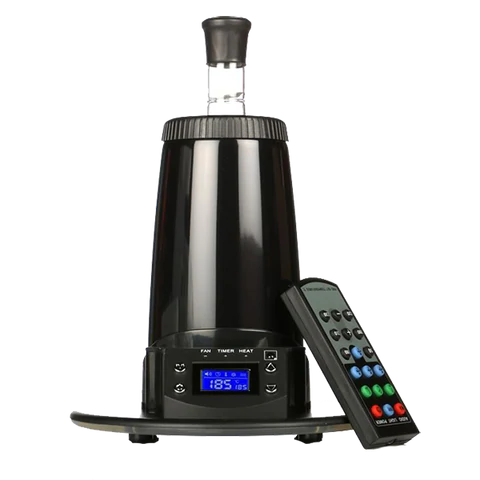
When it comes to temperature settings, most devices have a few preset temperature settings and others provide the option of adjusting the temperature degree by degree. Experiment with these settings to find your temperature preferences because everyone is different. It is commonly suggested that anywhere between 355F-430F is the zone to stay in for the best quality vapor.
Begin Vaping
You are now ready to get started vaping your herbs. Place your lips over the mouthpiece of the vaporizer and inhale the vapor at a slow and steady pace, allowing it to fill your lungs. Wait about 3-5 seconds before exhaling if possible, you will still feel the effects even if you do not hold in the vapor so don't worry.
The more you get used to vaping dry herb, the easier it will be to hold in the vapor.
Continue with these slow and steady inhales until you have reached your desired effects and remember to turn off the device. A lot of vaporizers on the market have an auto shut-off feature that can be after anywhere from 2 minutes to 12 minutes for those that offer longer sessions.
If your draws begin to have a small burnt flavor, it is time to empty the chamber and reload with more herbs. Allow the device to cool down before reloading.
Cleaning Up After the Session
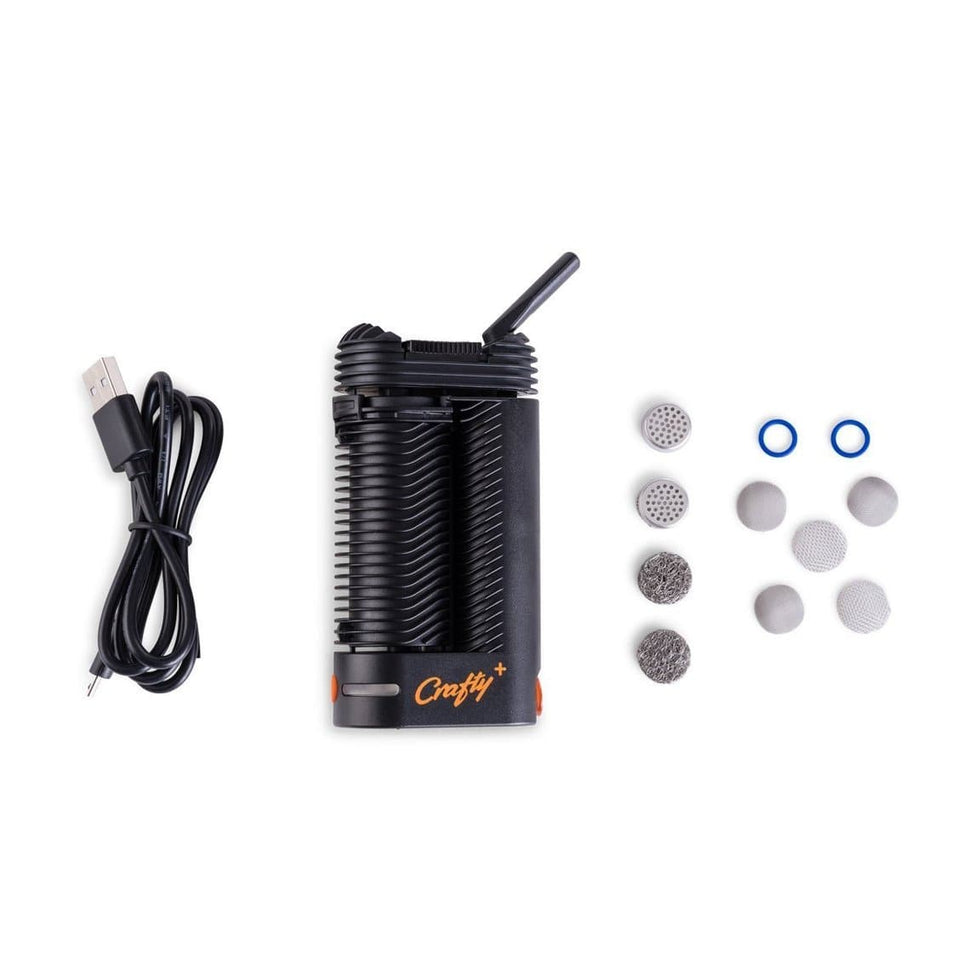
Most vaporizers on the market will come with a wire brush or poking tool. These are provided to prevent a massive amount of gunk buildup. If you are someone who vapes often, you should use the brush or poking tool to dislodge any material or residue after every session. Those who vape less often should only need to do this about once a week. This will make it significantly easier when it comes time for deep cleaning the device.
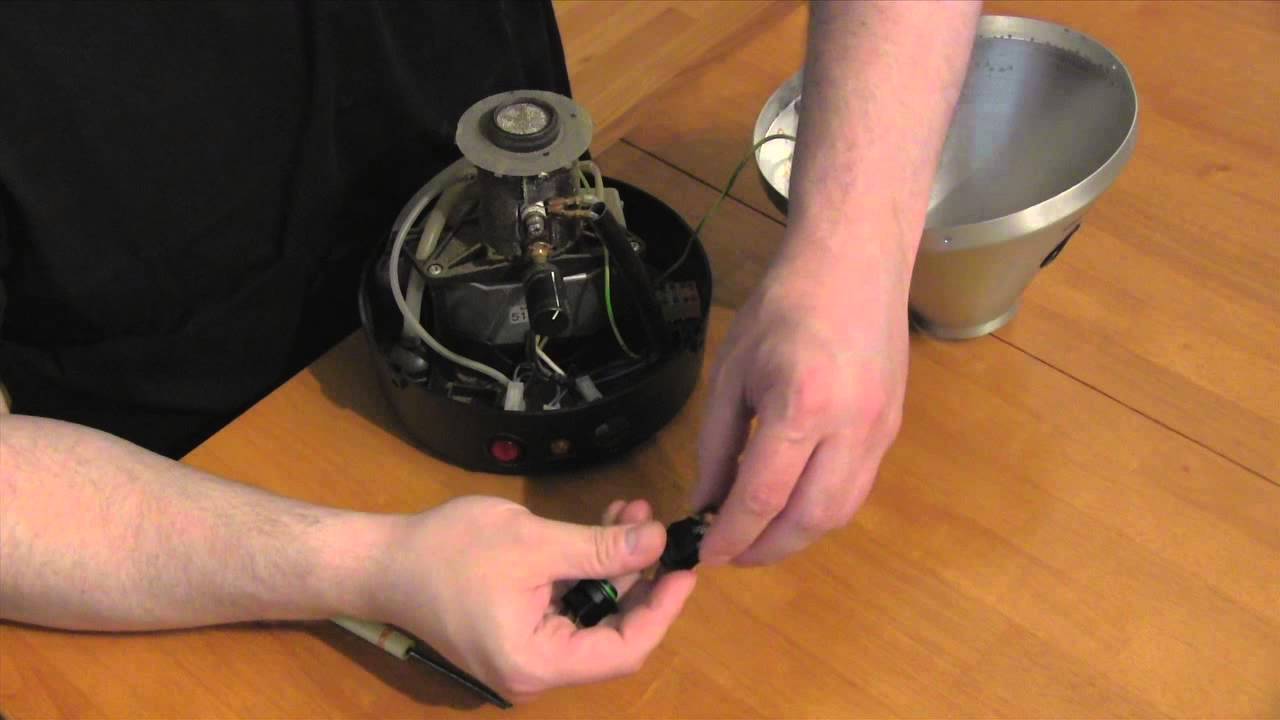
When your vaporizer is ready for deep cleaning, get started by taking apart the device as much as possible. This will most likely consist of parts like the battery, mouthpiece, and heating chamber. Consult the vaporizer’s user manual to check what parts are detachable to avoid accidentally damaging any parts.
Start with the chamber by emptying any material that has been left around the heating chamber. You can do so by gently tapping out the material onto an ashtray.
Be mindful not to lose the screen that may be included at the bottom of the chamber in the process. Take the provided wire brush and give the chamber a solid brush through, removing any gunk left behind. Refrain from using any liquid to clean inside the chamber as it risks damaging the wiring of the vaporizer.
Follow that up by cleaning the mouthpiece. Take the provided poking tool and dislodge any material that may have gotten stuck inside the piece. Many people like to soak their mouthpiece in isopropyl alcohol to ensure it is completely clean. If you do decide to do this, make sure to rinse with water and dry.
TAGS: